

Public Submissions
Collecting files from external users without requiring a DekkoDEMS account.
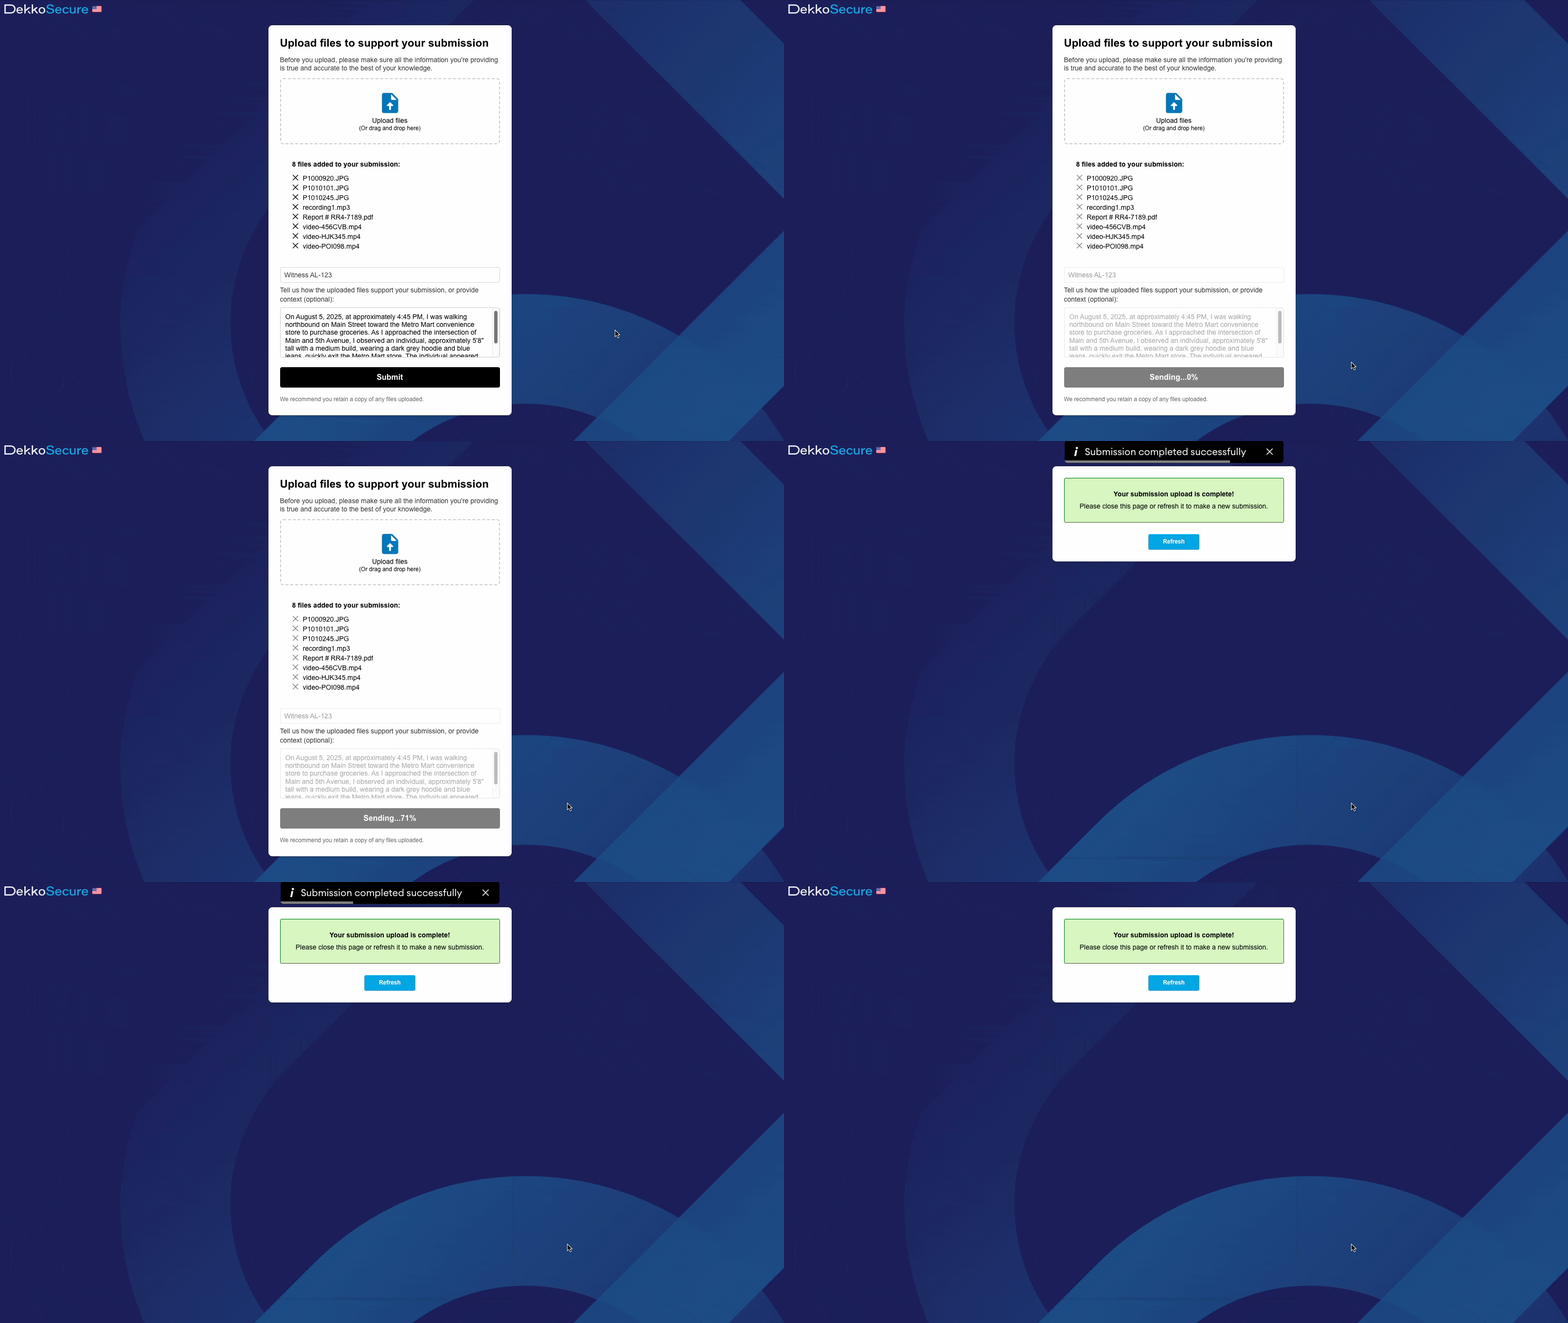
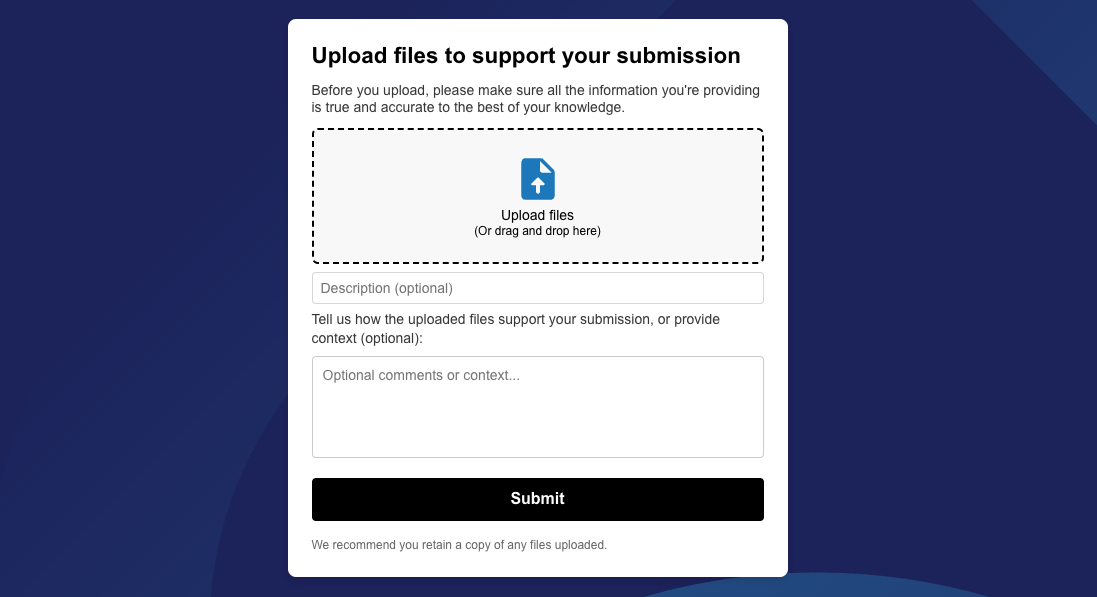
The Public Submissions feature allows unregistered users to upload content with accompanying text to a folder. Because submissions are not associated with an account, they should be considered anonymous. The Public Submission interface allows a submitter to add files and a message to the submission:
If you need to receive files from authenticated users please share a case folder or case sub-folder with them using the appropriate permissions.
Submissions are enabled at the case level or at the case sub-folder level, meaning you can set up multiple locations where the feature is on. There is no limit to how many Public Submission folders can be enabled simultaneously.
Creating a Public Submission folder
Before attempting to set up a Public Submission folder, make sure the policy is enabled within your Tenancy Manager settings:
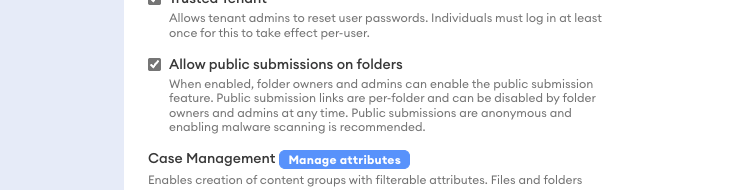
If you don’t have access to the Tenancy Manager you will need to make a request to your admin or contact your DekkoSecure account manager.
How to create a public submission folder:
Select the case or case sub-folder
Select the ⋯ More dropdown
Click Submission settings

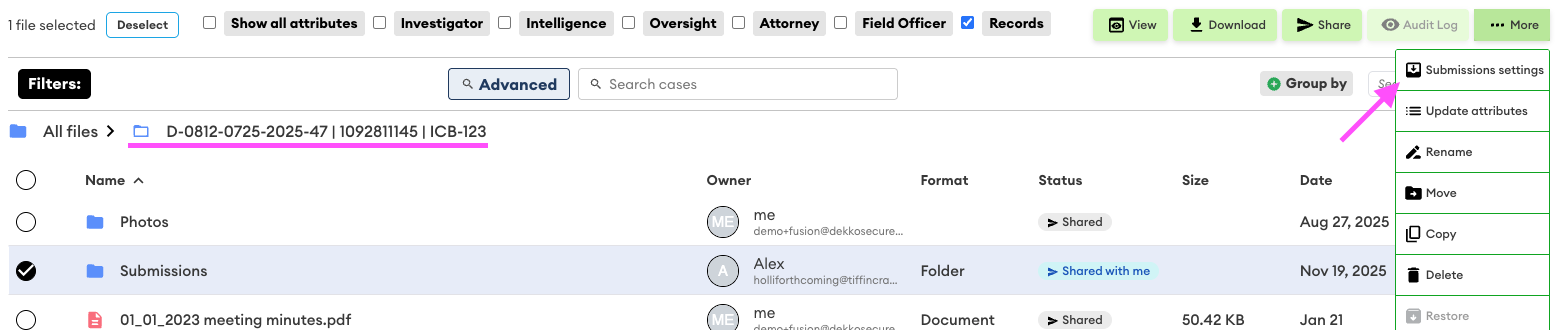
Confirm the submission setting by clicking Create QR image.
If you wish to set an expiry date
Copy the share link and/or Download QR Image
Share the submission link with whomever you need to receive a submission from.
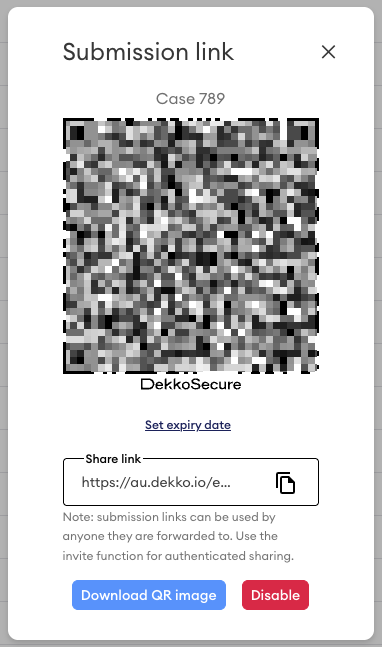
You can present the QR code physically, download the QR code and publish it, and/or copy the link and send via any means you deem appropriate.
Submissions are now on! You can access the submission settings at any time by pressing the purple Submission ON tag in the Status column:

Submission link expiration
Use the access expiration to ensure a link is invalidated after a certain point in time:
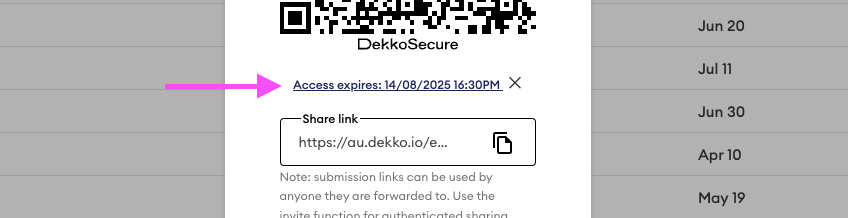
You can update expiration after a link has been enabled - just open the submission settings and update the date.
Disabling submission links
- Select the folder.
- Select the ⋯ More dropdown.
- Select Submission settings
- The pop up with the QR code will appear, click on the red Disable button. The link will be invalidated immediately.

Reviewing submissions
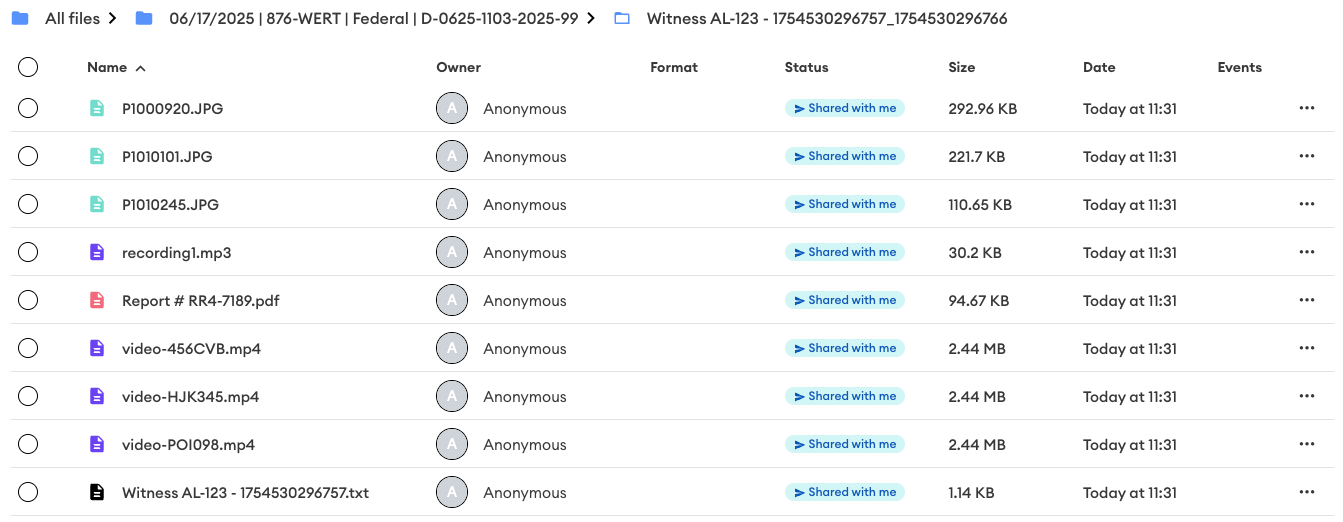
Every submission creates its own unique sub-folder:

Each subfolder is named with the following format: DESCRIPTION - IP ADDRESS_TIMECODE. If a submitter does not enter a description and/or their IP address is not detected, the folder name will contain a timecode at a minimum.
Individual submissions can be shared with additional users (press the Shared with me tag to manage sharing).
The submission sub-folder will contain the submitted files as well as a report text file that contains details about the submission, including the description and message if one is entered:
To read the text file select it, then press the View button:
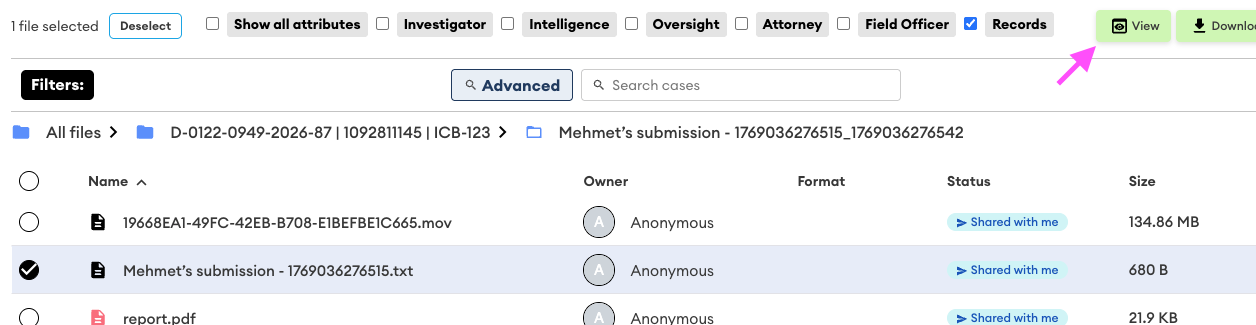
The submission report text file contains:
- The submission date and time
- Device IP address and derived location
- Device information
- The submission description (if one is entered)
- The submission message (if one is entered)
- The submission file count and file list (if files are added)
DekkoDrive
Submission folders also appear in DekkoDrive for fast download:
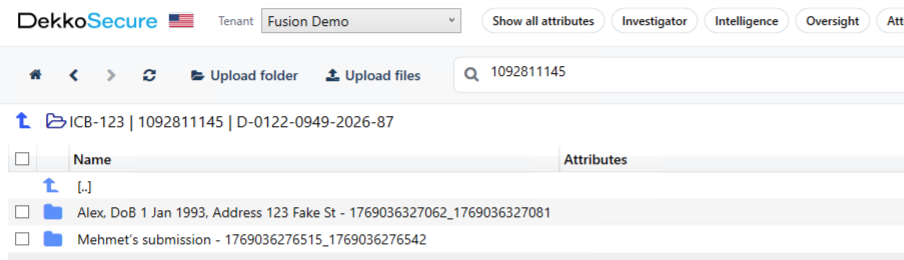
Making a submission
Submissions can be made by accessing the designated Public Submission link, either via the URL or the QR code. Please note that submissions can be just files, just a message, or files and a message.
To make a submission, simply add the content where appropriate and then press Submit:
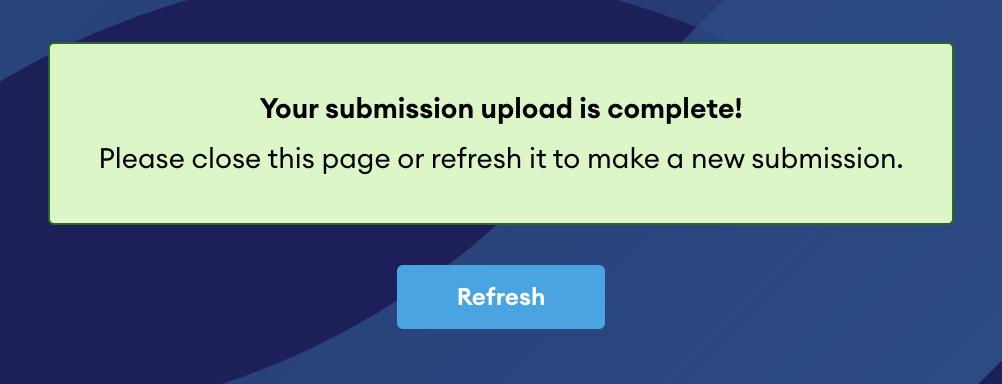
Please do not close the page until you see the submission success message:
If you’re using a mobile device you can use your camera to add a photo or video to a submission:
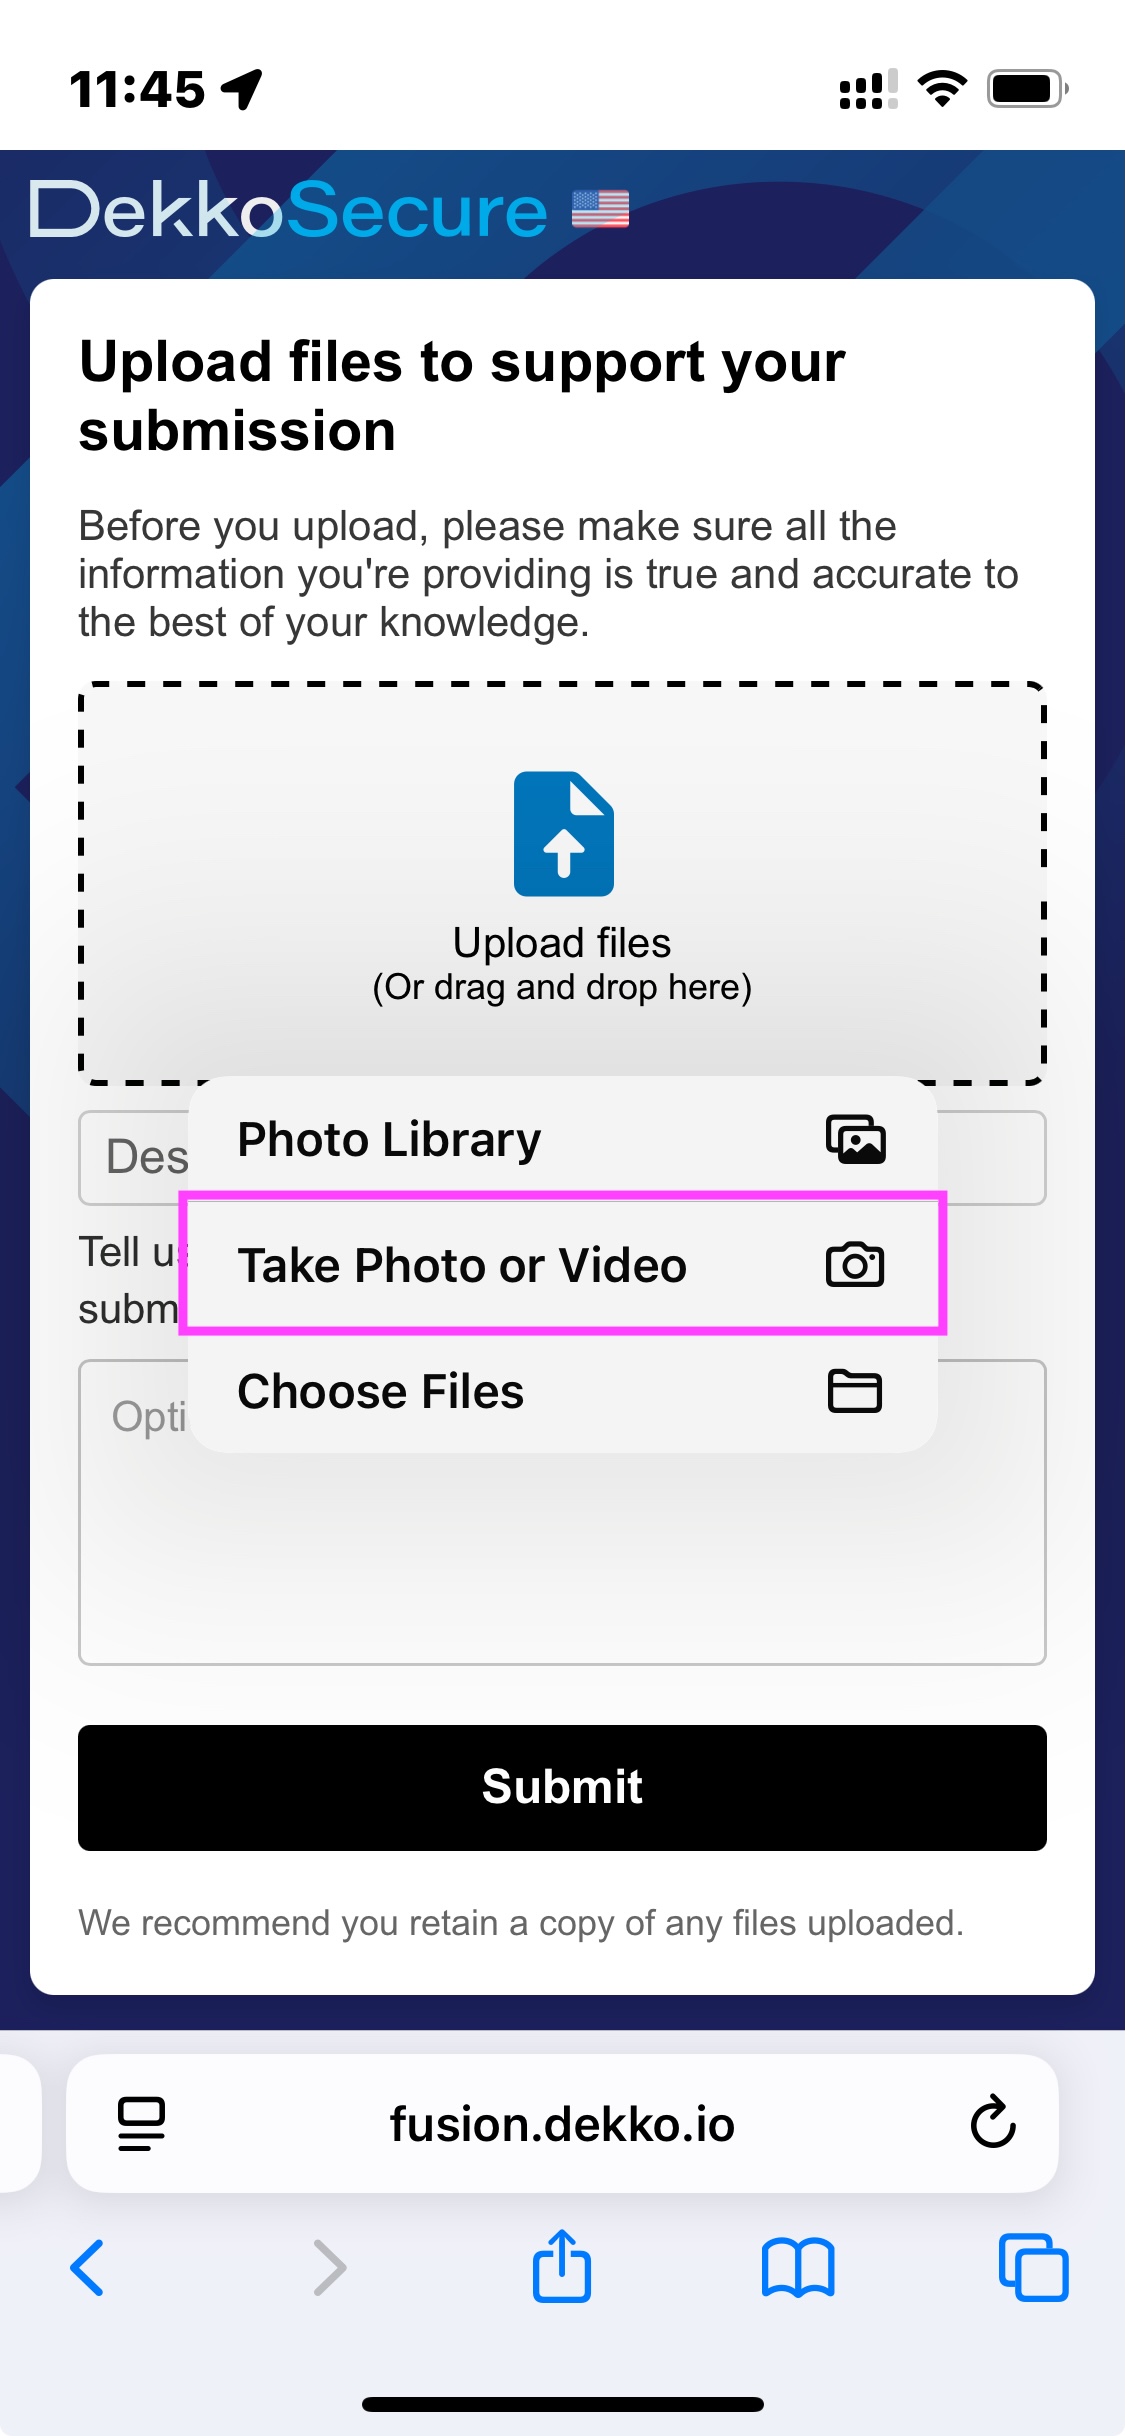
Most mobile devices do not store photos taken with your camera during submission. If you need to store submission photos on your device, take them using your camera first and then upload them to your submission via your Photo Library.
Controlling Public Submissions
Public Submission links and QR codes
Careful management of the distribution of submission links and QR codes is highly recommended. Anyone with the link can submit files.
Sharing your Public Submission folder
Folders with Public Submissions enabled can be shared with authenticated users to facilitate access to submissions. The regular steps for folder sharing should be followed.