Creating and Sharing Cases
How to create new cases, add content to them, and share cases and access audit logs.
Creating a Case
During case creation you will be presented with a form to set the attributes of a case and select groups for the case to be shared with.
To create a case, click on the New Case button in the top-left of the interface:
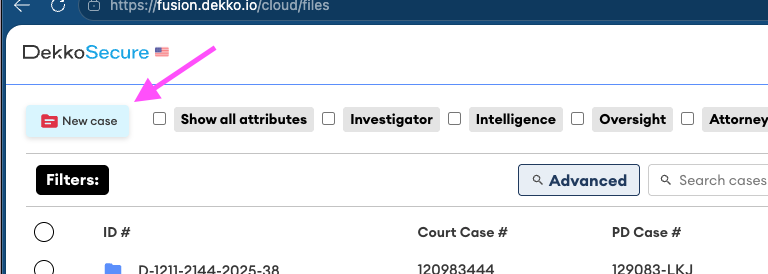
Attributes displayed in the case creation form are based on your selected view profile. Before creating a case, make sure you have a view profile selected that describes your team/organisation.
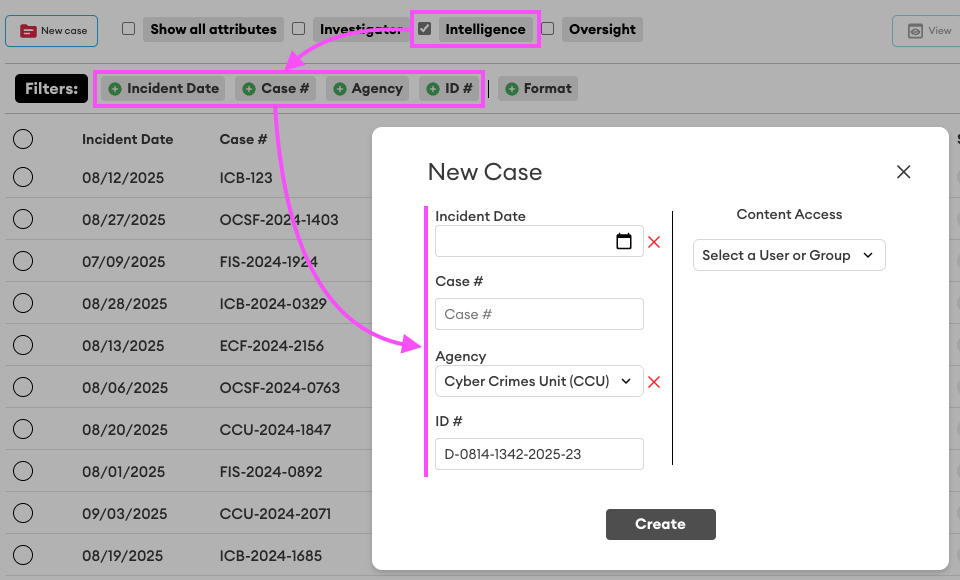
The case creation form will be displayed. Set the attributes as appropriate (note: some attributes may be mandatory):
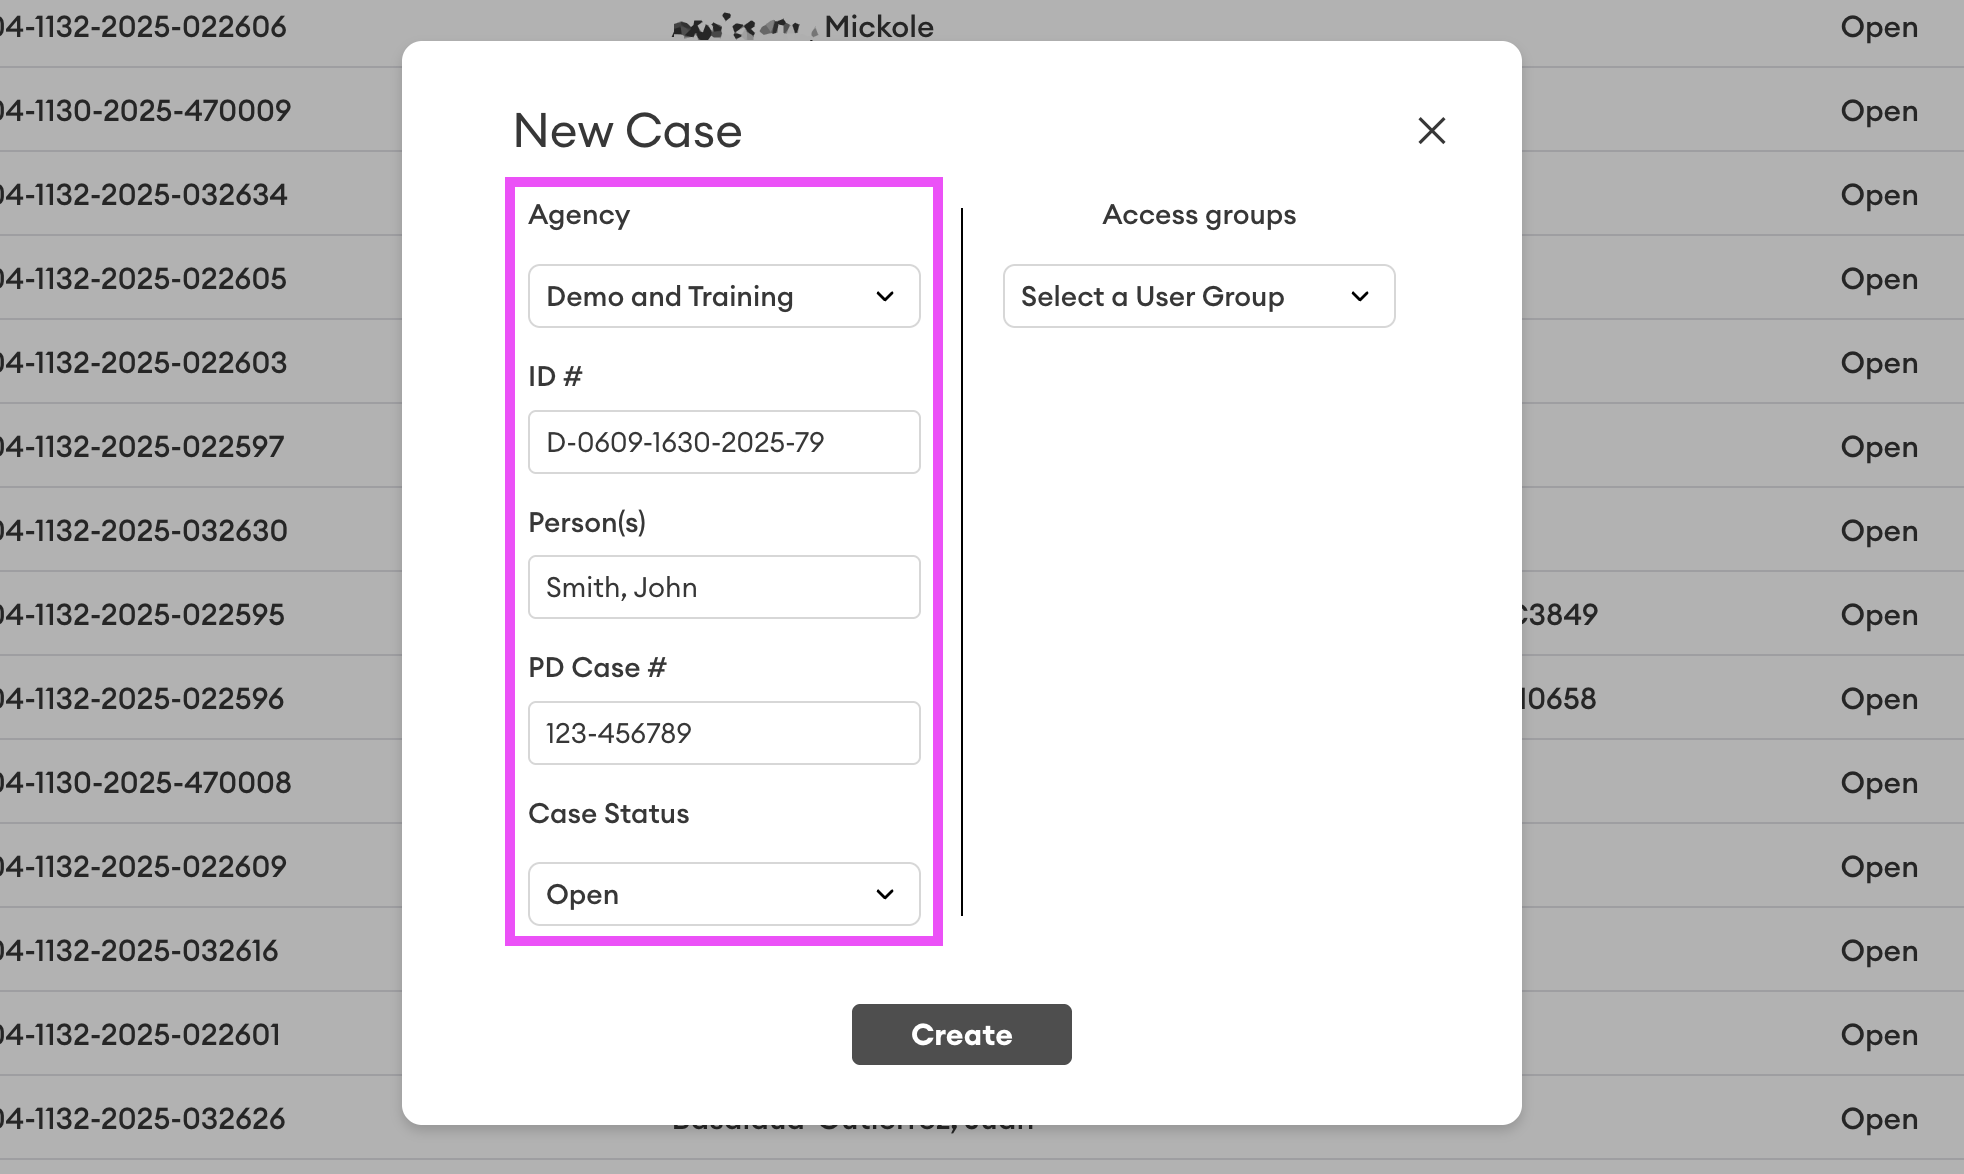
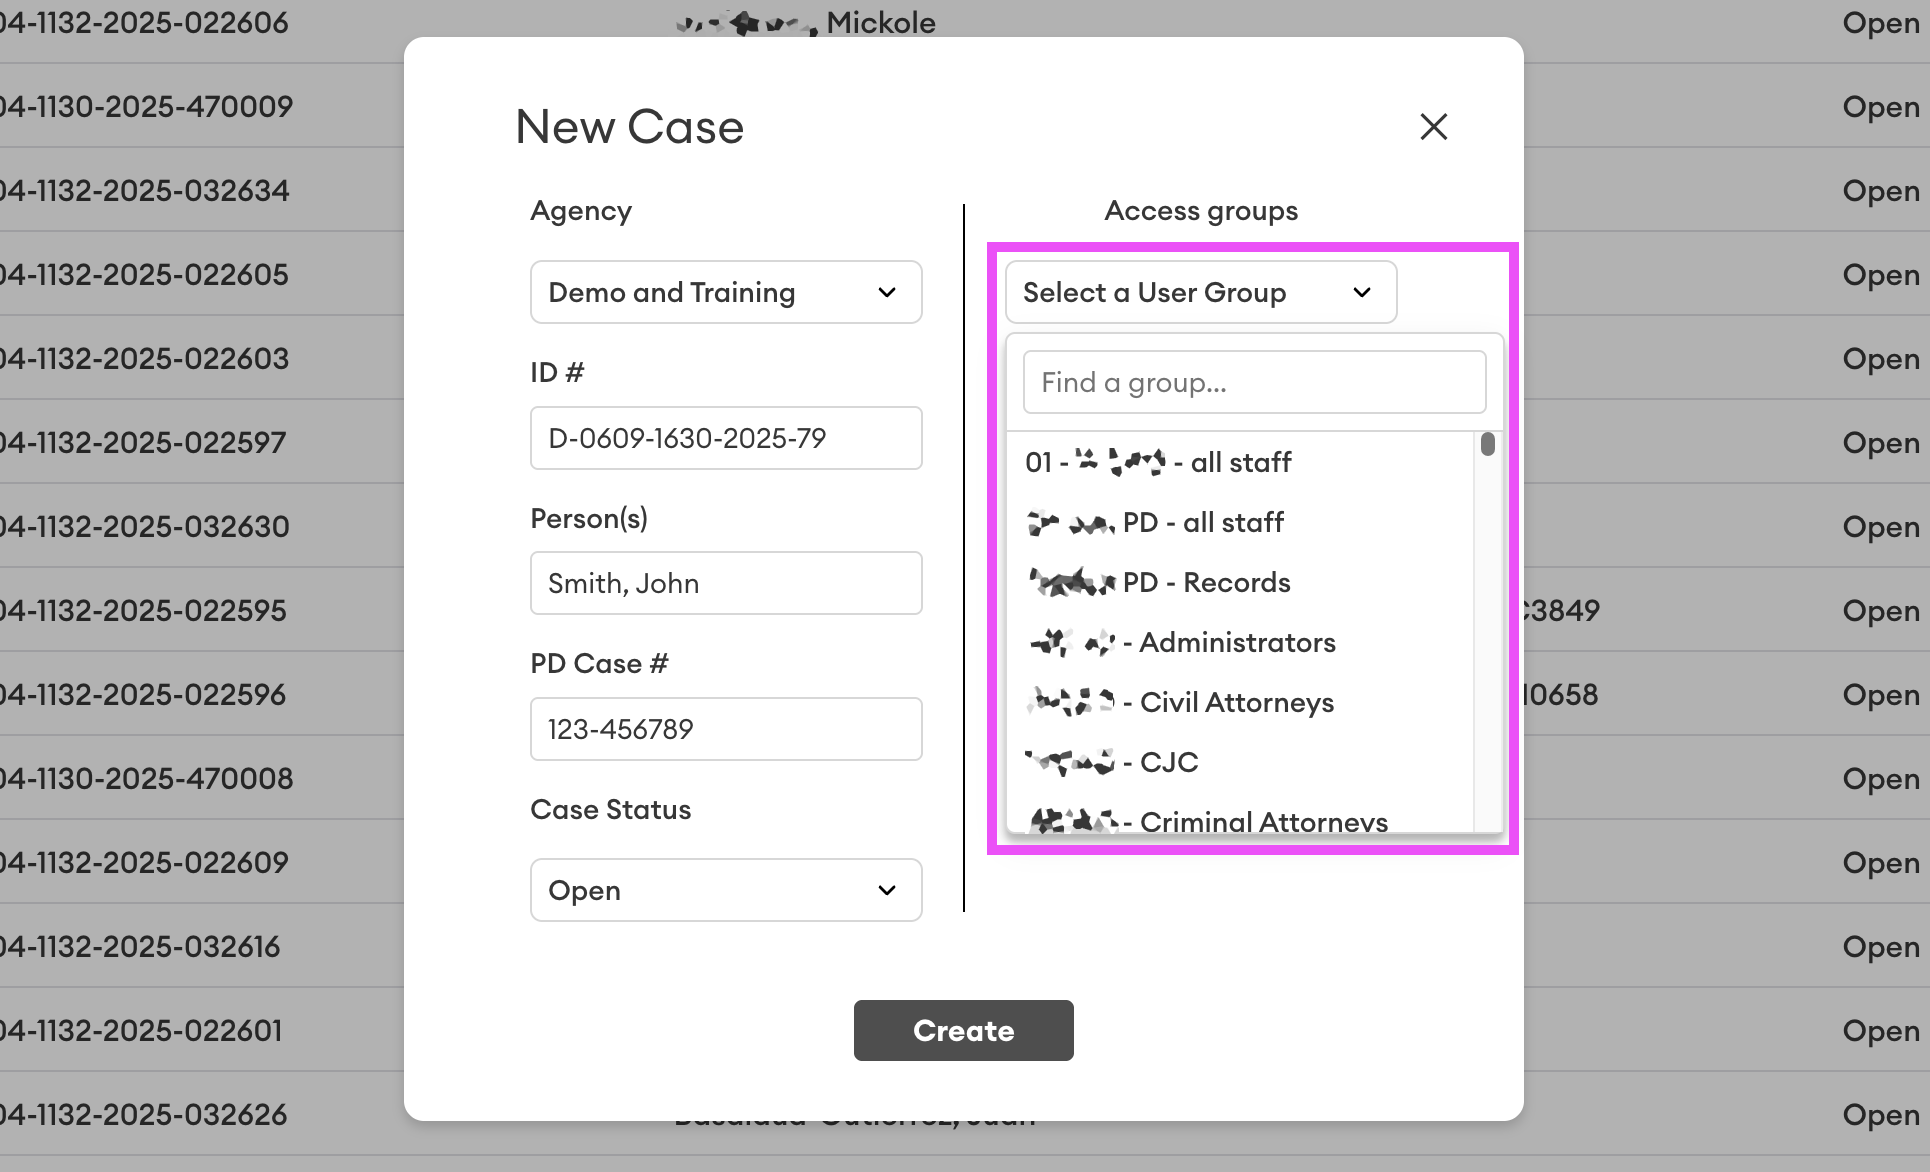
After the attributes have been set, use the Access Groups dropdown to select the user groups that need to access the case folder:
You can select multiple groups for case access (ensure you set the appropriate access permissions!):
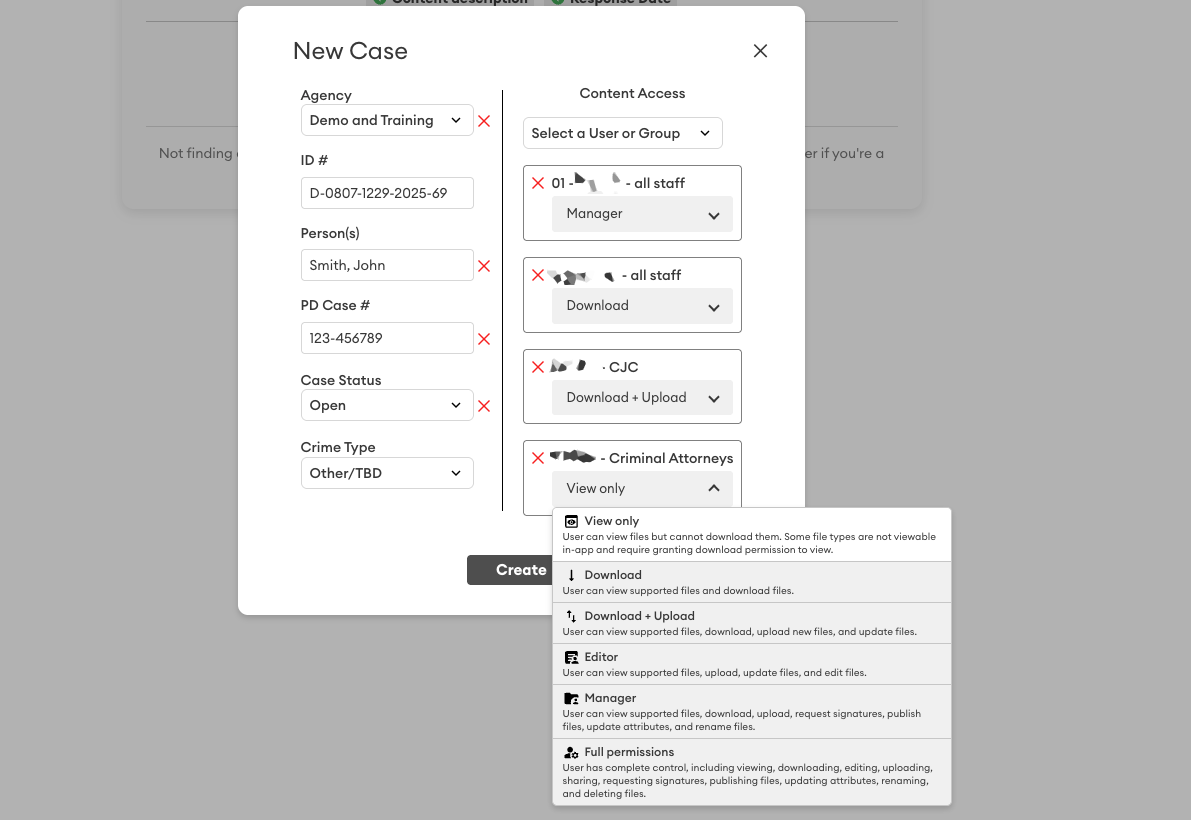
If you accidentally add a group, use the red X button to remove it.
If you need to share your case folder with an individual, you must also select at least one group.
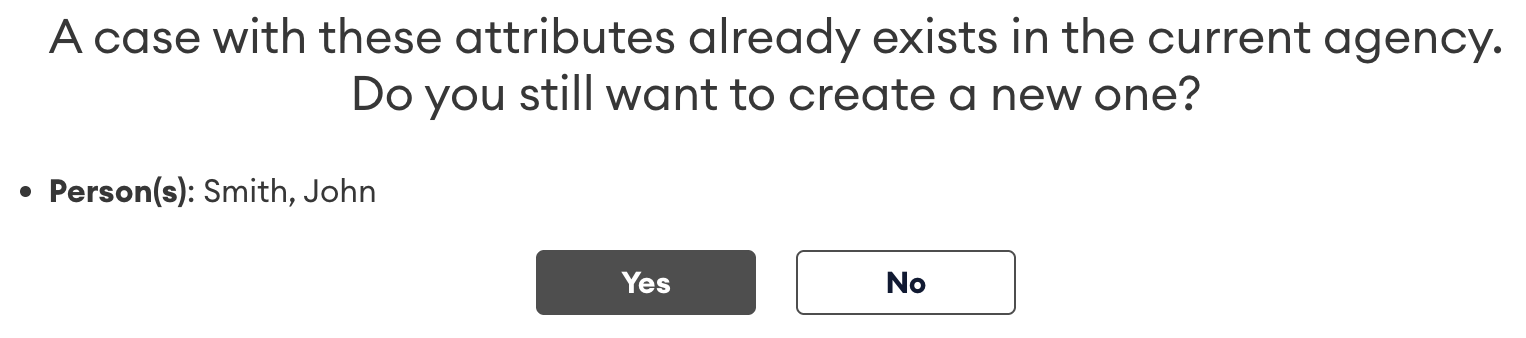
To complete case creation, click on the Create button. If an existing case with a matching attribute is found you will be warned before the case is created:
After you create a case it will be automatically filtered and displayed so that you can easily open it to add case material:

Uploading to a Case Folder
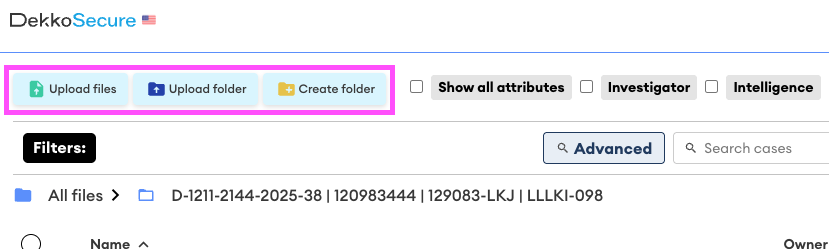
Click on the case folder to open it. Content creation buttons are located in the top-left of the interface:
The DekkoDEMS application is “file agnostic” - it does not have any file size or type limitations. If you are uploading voluminous files please prepare adequate time for uploads to complete!
For very large uploads (50GB+ or 100s/1000s) of files, DekkoDrive is recommended.
If you upload more than 30 files at a time the interface will prompt you for Express Upload. This feature automatically combines your upload into a ZIP file:
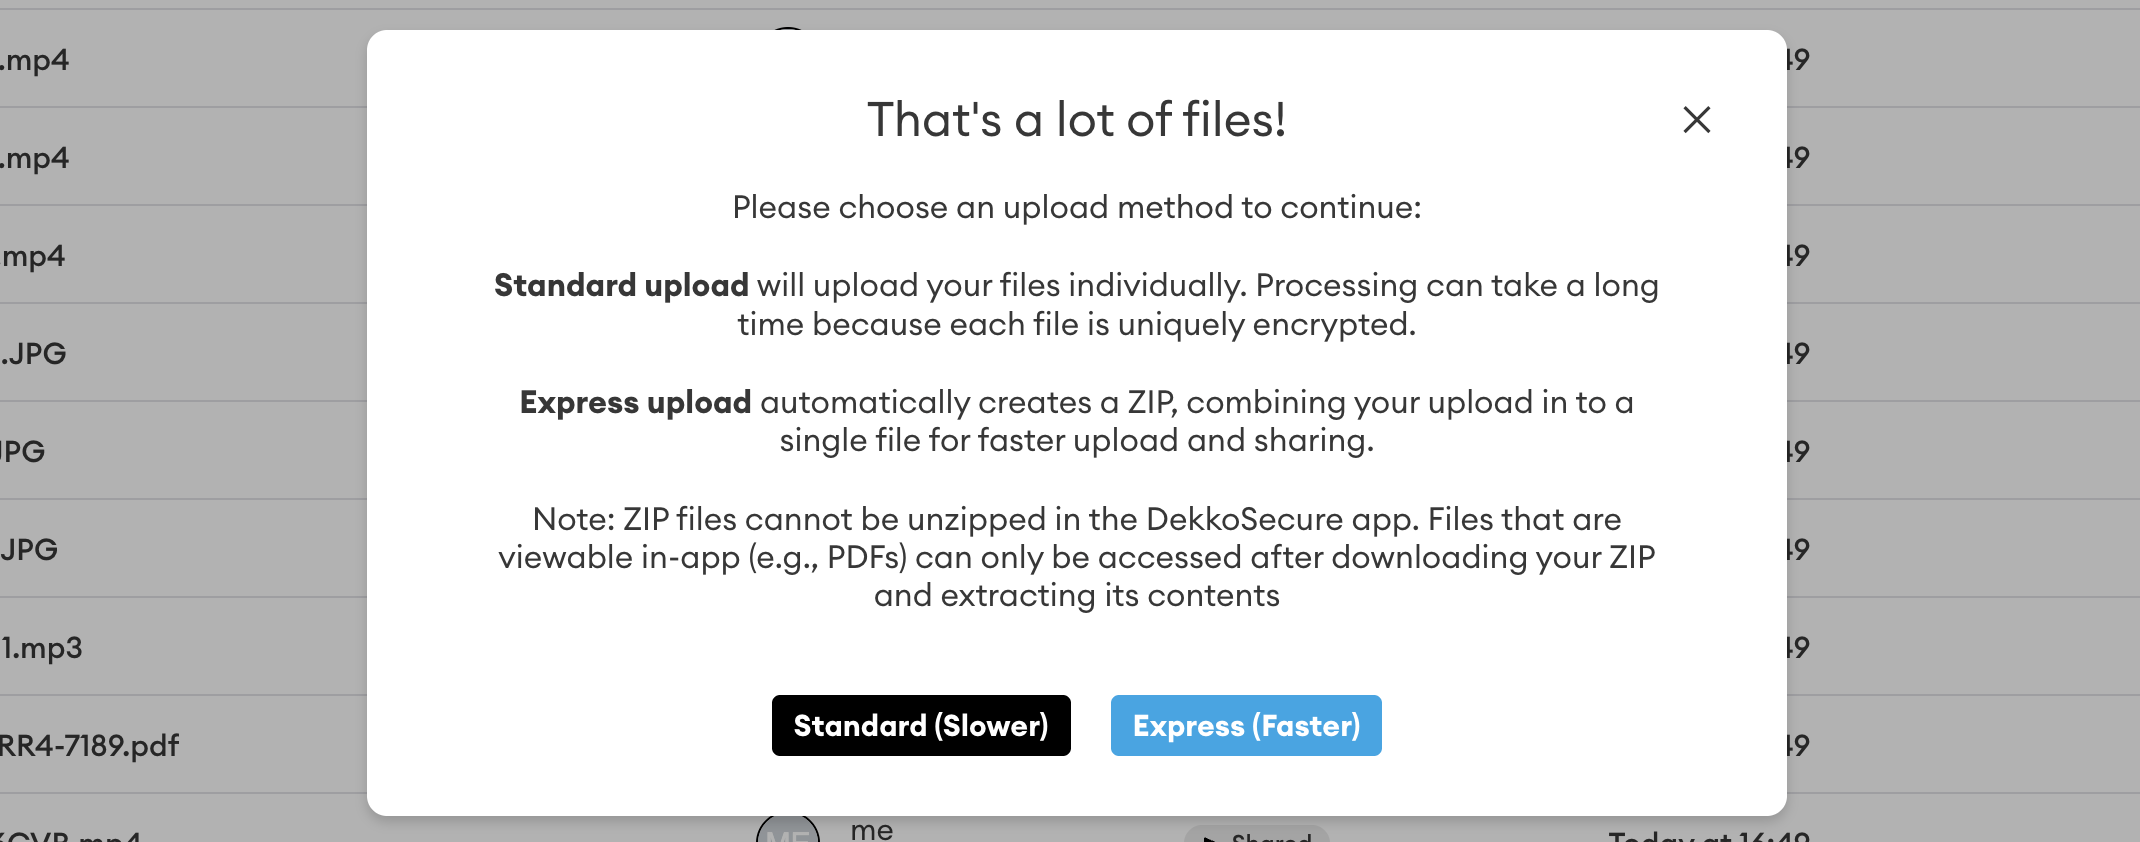
Note: ZIP files cannot be extracted and displayed inside the DekkoDEMS app. If you are sharing material that needs to be viewed in-app (PDFs, images, etc.) choose Standard.
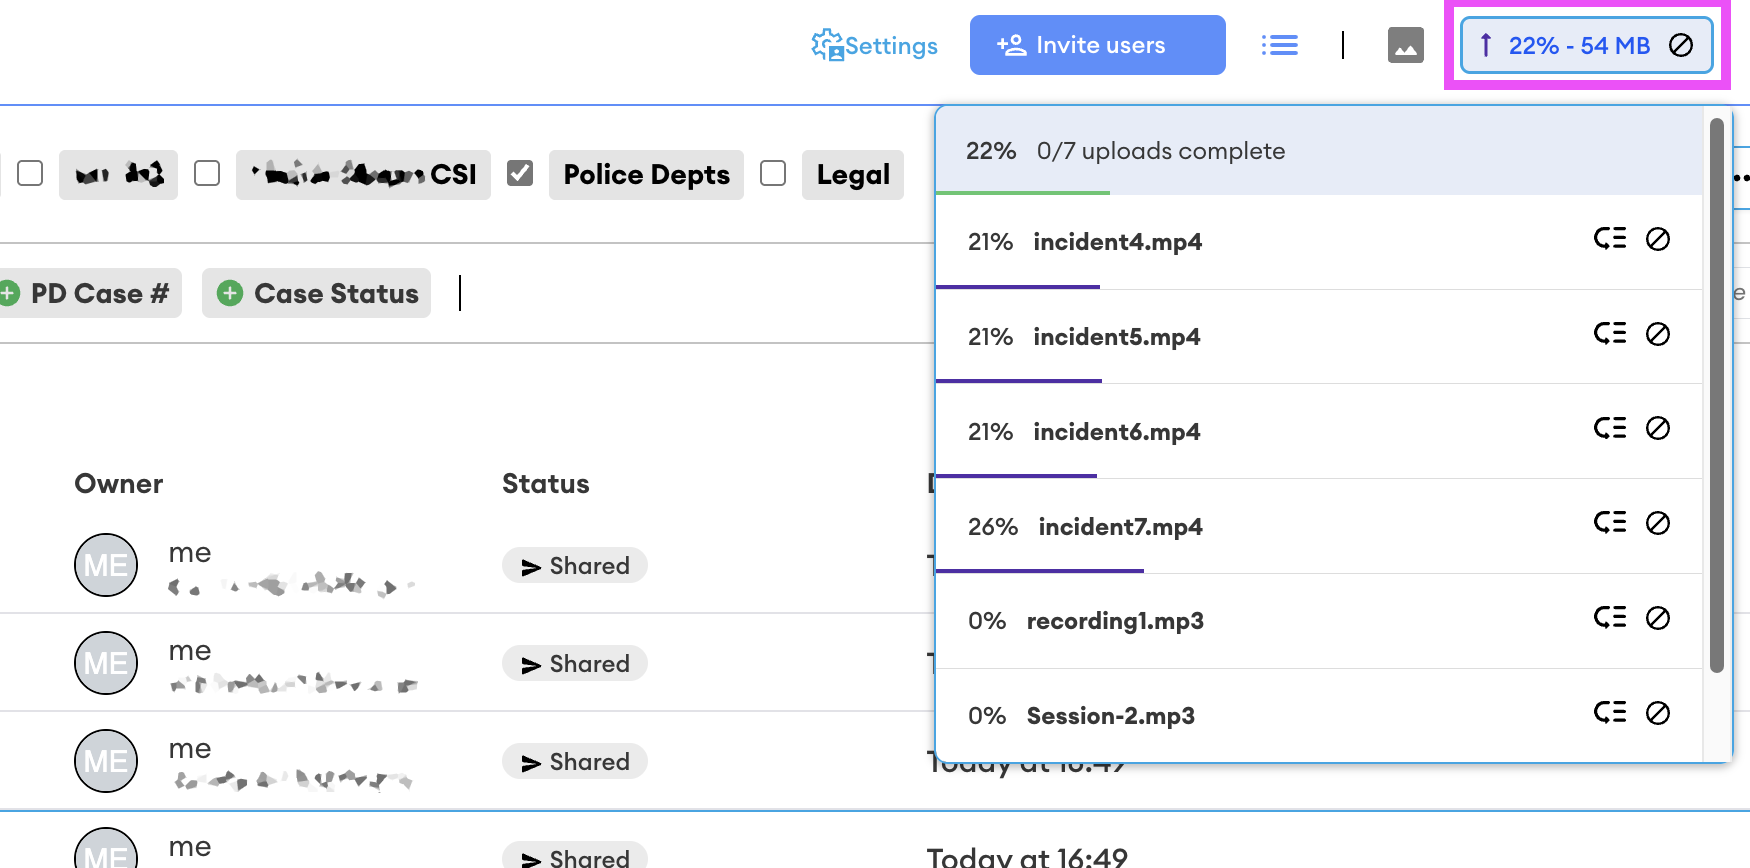
After your upload starts progress will be reported in the upload manager. Click on the upload progress element to open the progress list:
Mass Case Access
Multiple cases can be shared with a group using the Case Access Management function.
Mass case access is granted based on the current view:
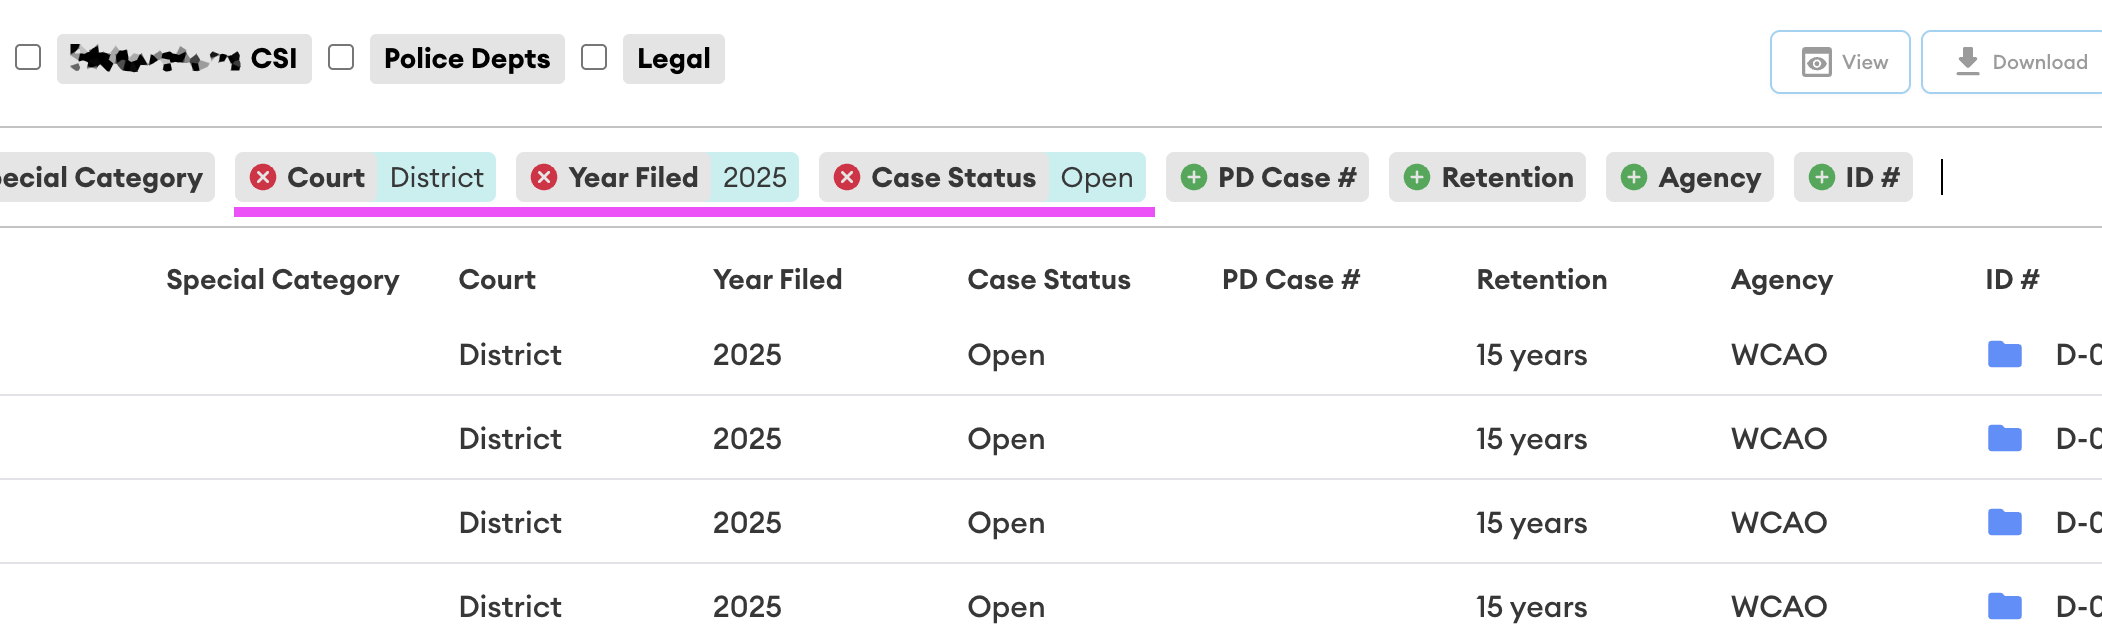
In the above example, when the function is used, all cases that match Court [District], Year Filed [2025] and Case Status [Open] will be shared.
If you have no filters enabled and use the mass share function, every case that you have access to will be shared.
To run the function, press the [CTRL] and [O] key on your keyboard at the same time. The Case Access Management window will open:
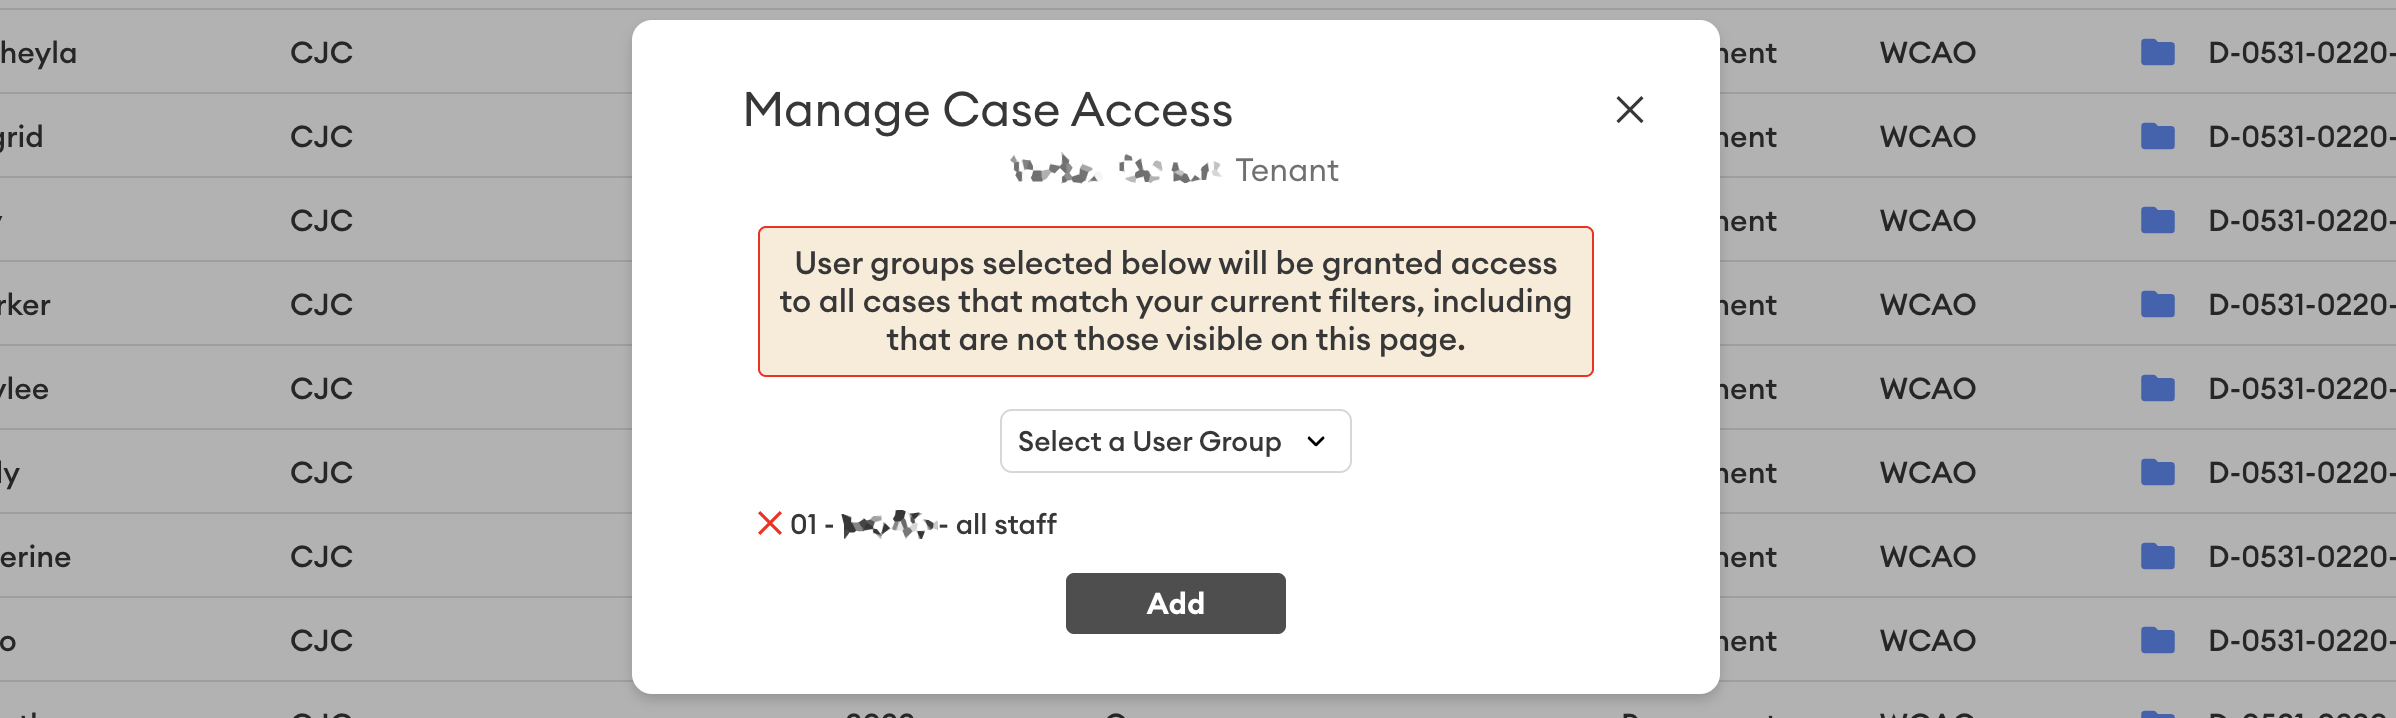
Select a group or multiple groups that require access to the cases listed, then click on Add.
You will be prompted for a confirmation before the mass case access function is applied.
To share a single case, select it and then click on the Share button:

Case Material Sharing
Files and folders that are uploaded into case folders will be automatically shared with all Access Groups that were added to the case folder:

If you want to add extra individuals/groups to a specific file or folder, select it and click on the Share button:
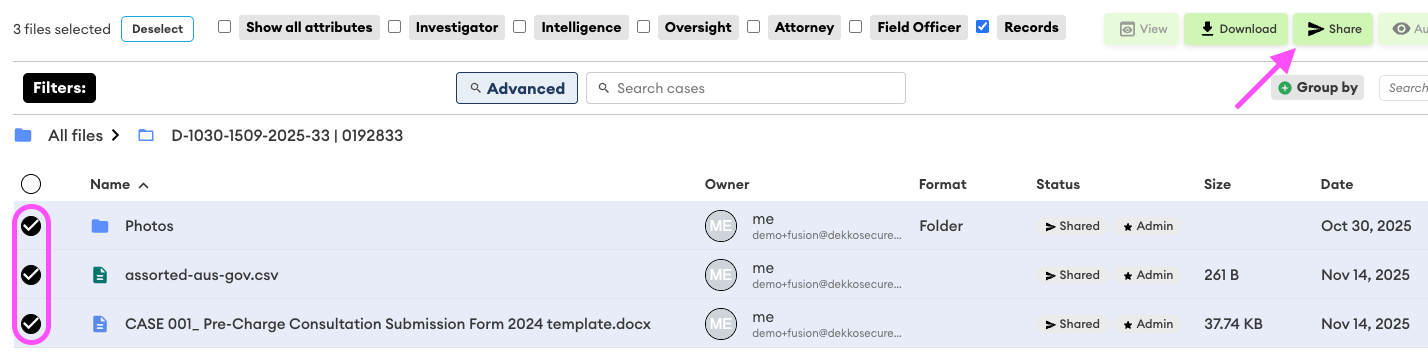
The folder’s sharing menu will open. In addition to the existing Access Groups, add the individual by searching for them in the Select a User Group dropdown.
If you can’t find a group or an individual, please ask your DekkoDEMS administrator to add them to your organisation’s group list.
Allowing Uploads in a Folder
If you need a user or group to upload content into a case folder, make sure they have access by sharing the folder with them.
To configure sharing on a specific folder, upload or create a new folder:

Select the newly created folder (1) and click on the Share (2) button:

The folder’s sharing menu will open. In addition to the existing Access Groups, add the individual by searching for them in the Select a User Group dropdown:
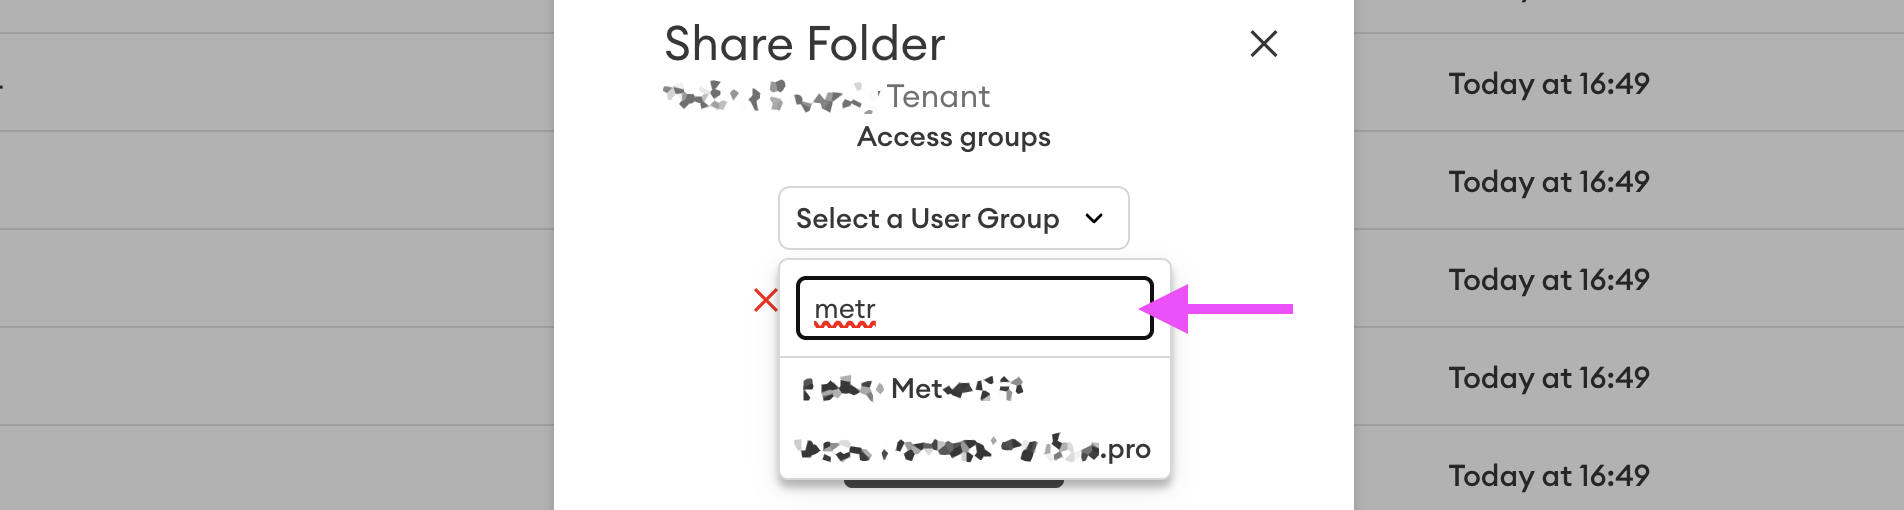
If you can’t find a group or an individual, please ask your DekkoDEMS administrator to add them to your organisation’s group list.
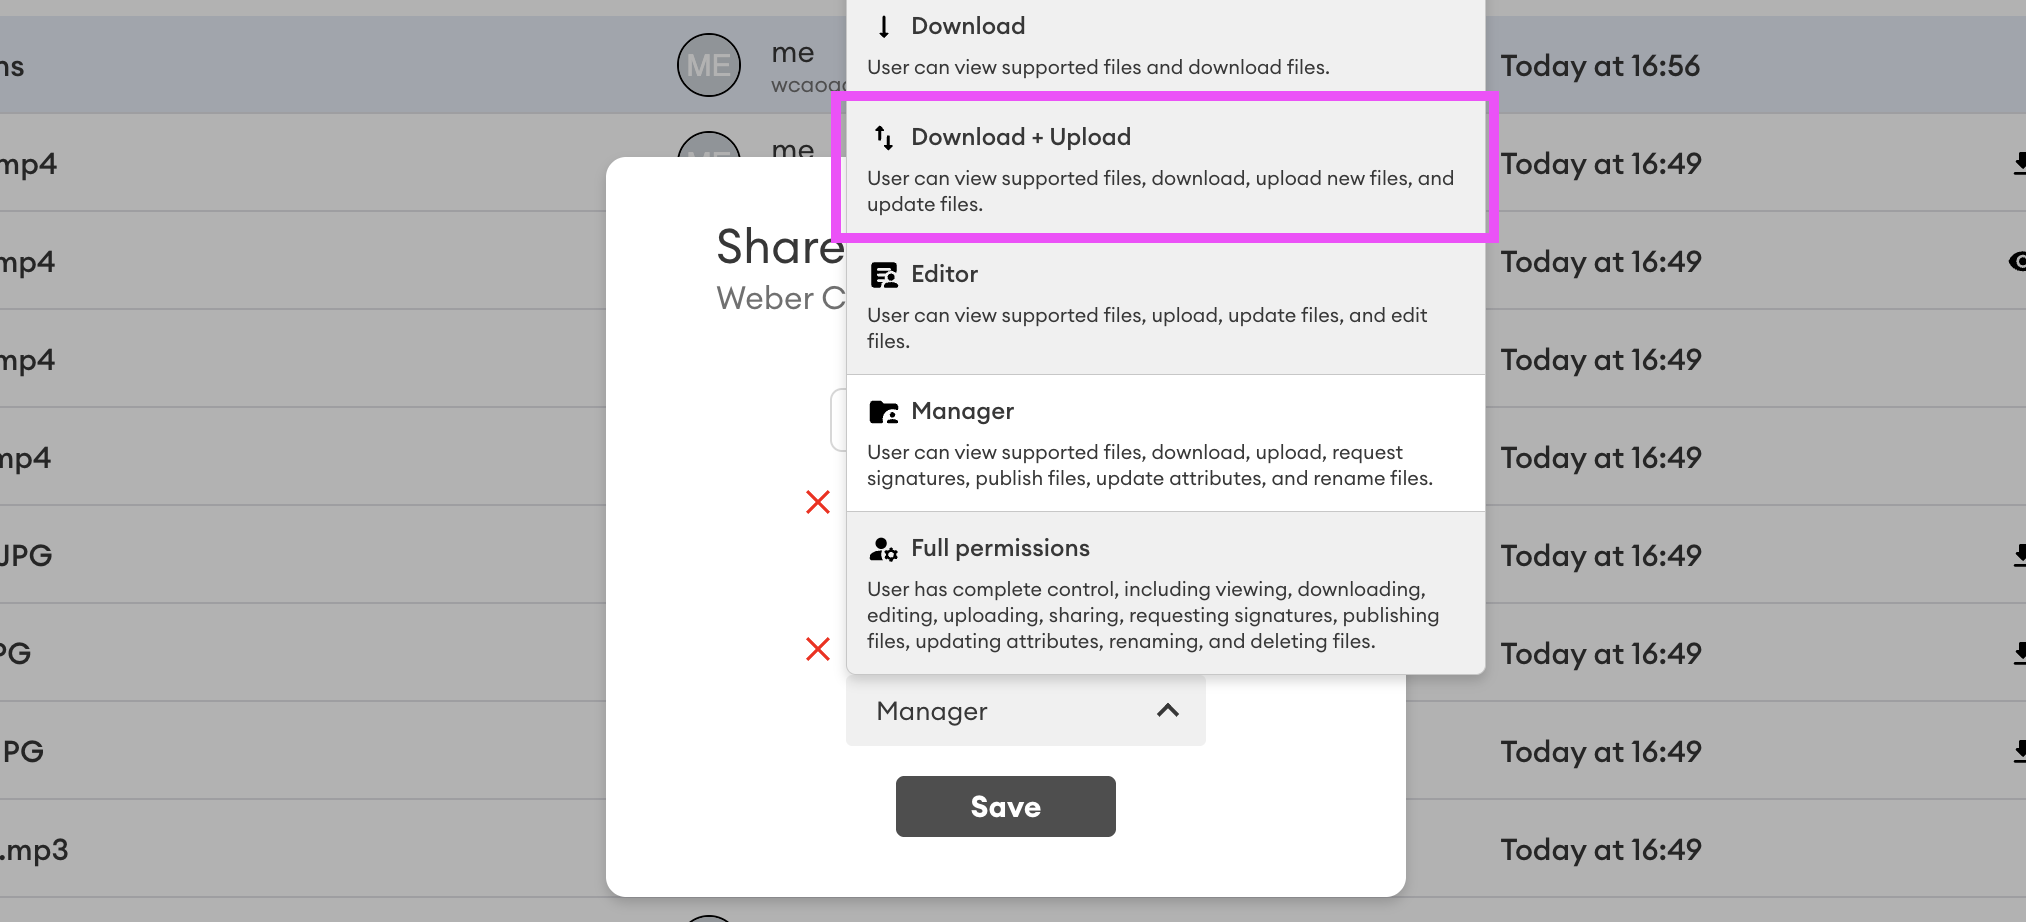
Ensure that the individual/group has appropriate permission to upload - leaving the individual/group at the default Manager permission will allow them to upload. If you want to limit them to Download + Upload, use the permission selection:
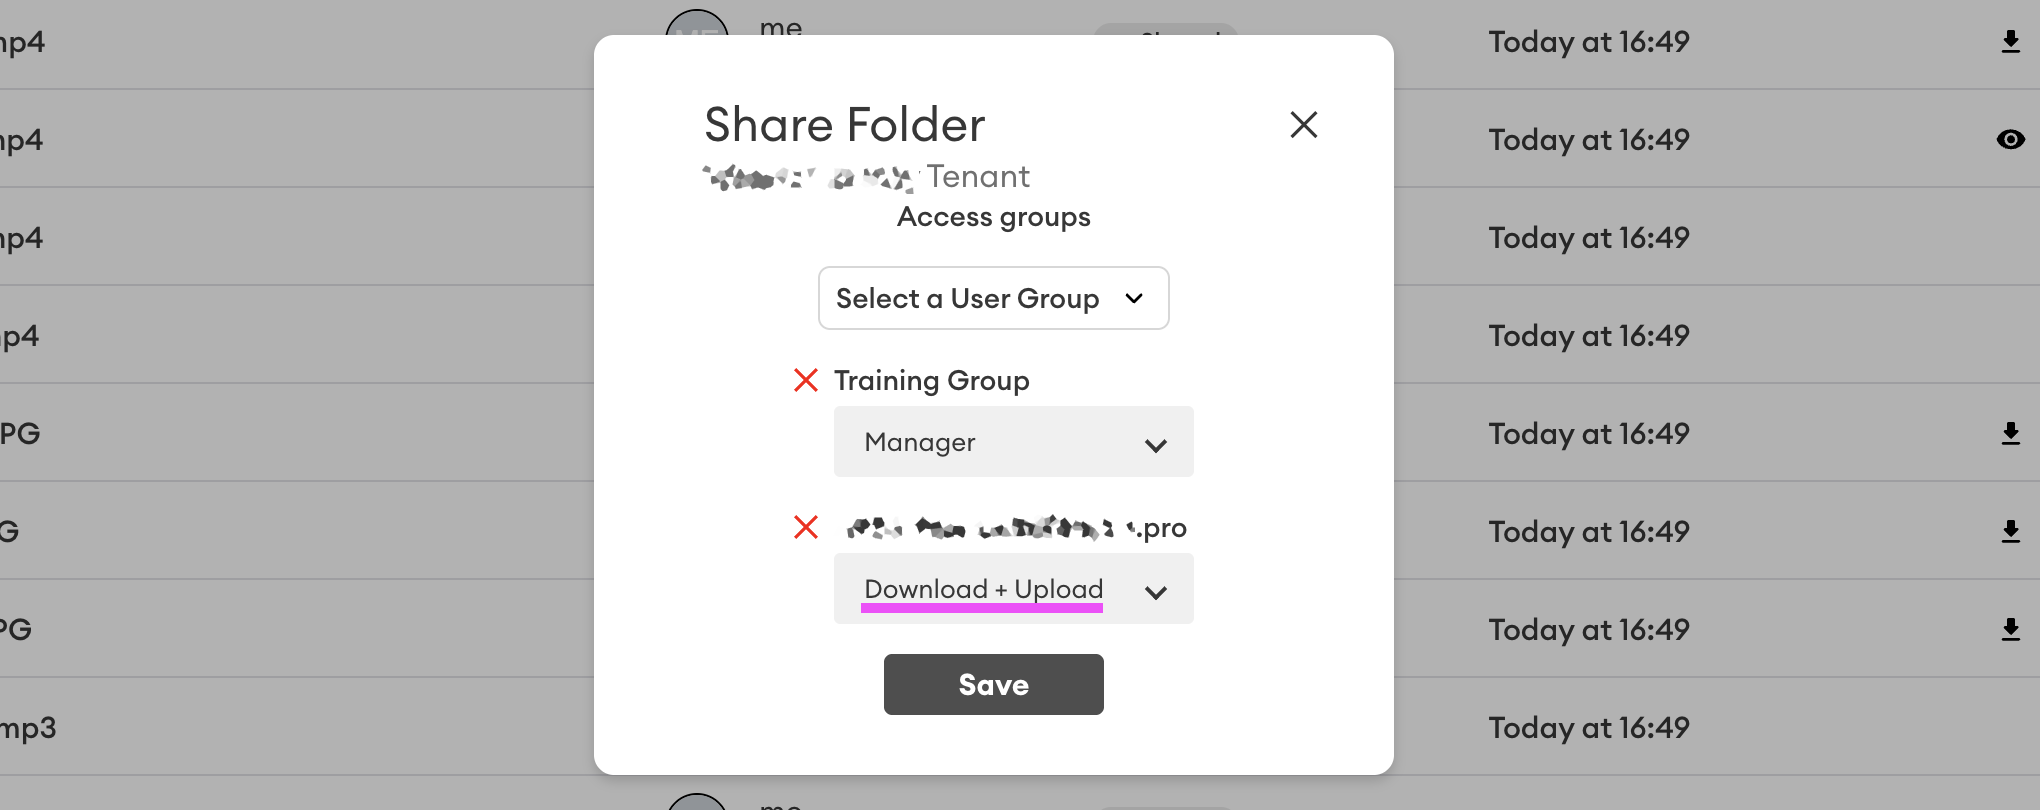
Double-check the folder’s sharing configuration and then click Save:
Recipients of folders will be notified via email. You will also be notified via email when they upload new content to the case folder.
Case Material Access and Audit
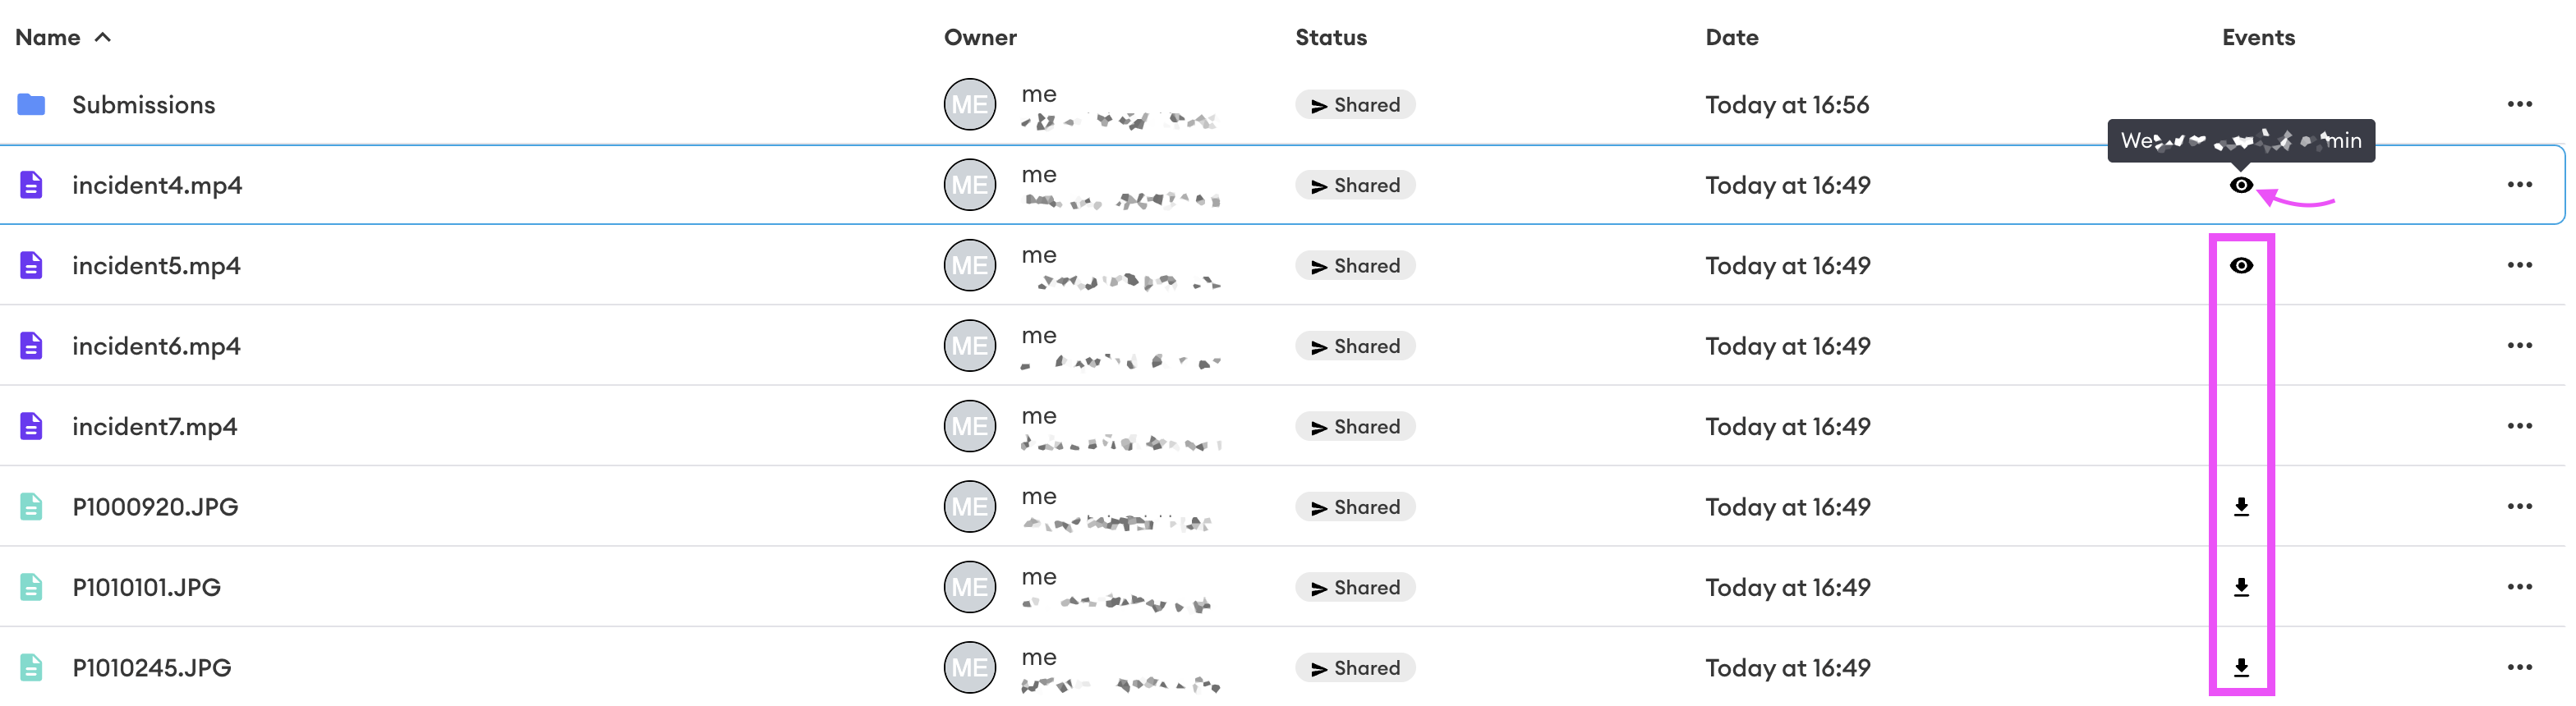
View [𓁹] and download [↓] icons are displayed in the Events column when case material is accessed by users in the case folder’s Access Groups. Place your mouse cursor over the symbol to display the user(s) that accessed the file:
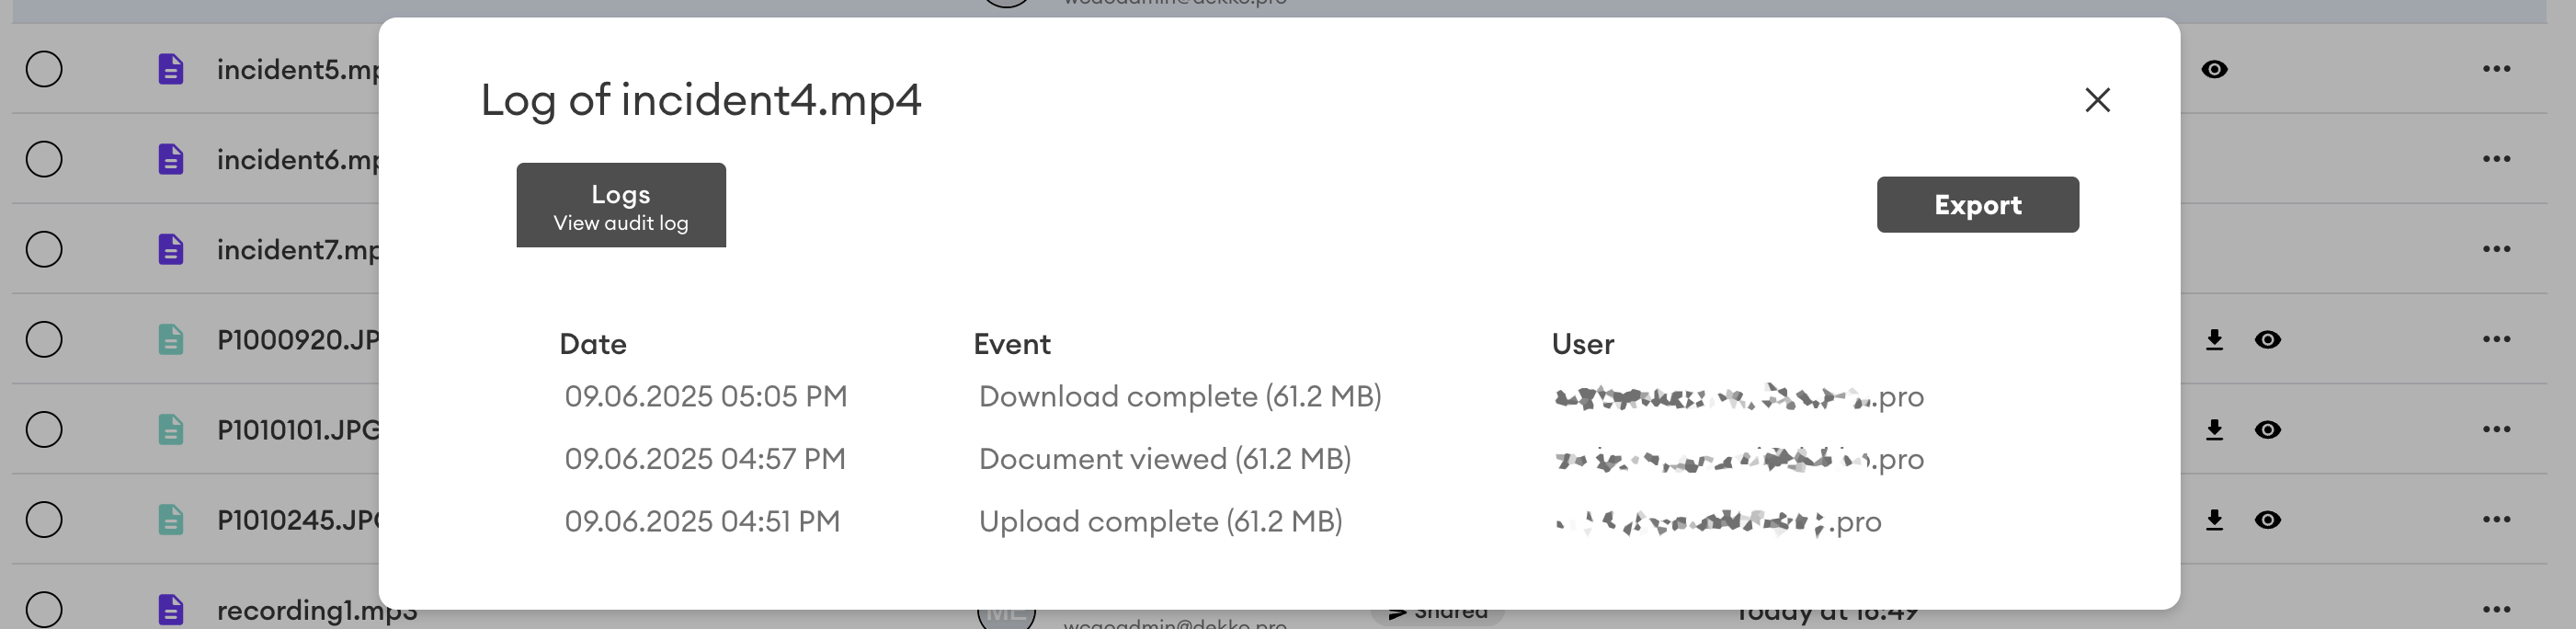
To see a detailed log of the audit activity on a file (upload, view, download, etc.) select the file (1) and then click on the Audit Log (2) button:

Clicking on the Export button will generate a CSV file containing the log history.